Taking pictures of individual people is often the mainstay of general PR and editorial work. But there is a right way and a wrong way to do it.
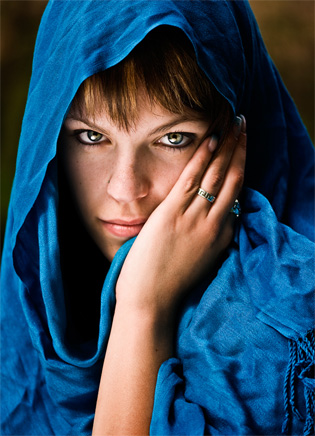
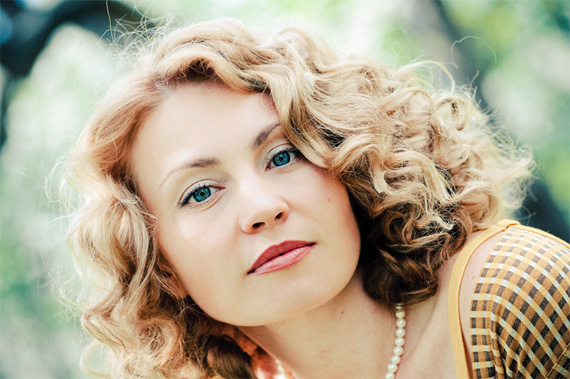
What I am going to look at it how to take a classic portrait shot, suitable for use as a PR image.
Before you go on to try more elaborate or way-out methods of photographing people at least manage to try and perfect the classic portrait.
There are a number of hints and tips for this one, so let’s get going
1.Hold your camera vertical not horizontal
For the classic portrait shot you want your camera to be oriented vertically. This suits the image much better and avoids you having to crop off large amounts of wasteful image to the left and right of the subject’s head.
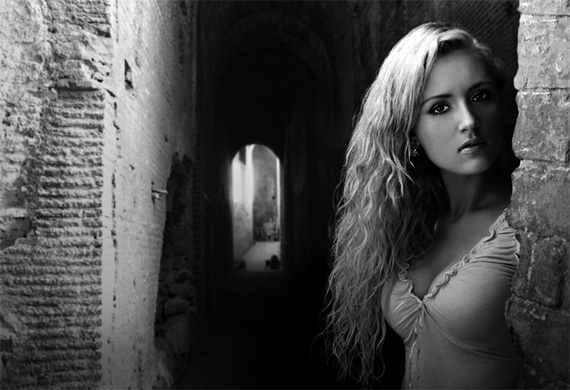
2.Make sure that the subject is not up against a wall
I always believe that if the background adds something to an image keep it in. If it doesn’t then get rid of it. The problem with a lot of digital cameras nowadays, especially the smaller compact ones, is that they have tremendous depth of field. That is, a heck of a lot is in focus. If your subject is near to their background the chances are that it will be sharp too, which is very distracting. So keep them at least eight feet away from their background and DON’T use a brick wall either – it always looks like a mug shot from “Prisoner cell Block H”!
3. Shoot at their eye level
This is the best option – I usually put a chair in place for the sitter and then set my camera up on a tripod or hold it so that I am at their eye level. This gives the best perspective.
4. Don’t use a wide-angle lens
Most compact digital cameras automatically default to their wide-angle settings when you first switch them on. This is the worst possible setting for a portrait. For a start you have to get way to close to the person you are photographing to fill the frame. Secondly, you then get terrible distortion – like looking into the back of a spoon.
The solution is to go back until you are about six feet away from the person and then zoom in to fill the frame. This will give more flattering perspective and help to make the background more blurred. It will also help to get rid of distracting elements in the background.
5. Get your sitter to sit at an angle of 45 degrees to you
If you shoot the person head on it will look like a police mug shot. Get them to sit at an angle of 45 degrees to you and then turn their heads to look square on to the camera. The result will be much better.
6. Don’t use direct flash
Direct flash (or flash on camera) is not flattering and will give severe shadows and flare off the sitter’s nose, forehead and chin. Better to use bounce flash if you have a external flashgun and bounce the light off the ceiling. This can work well if you have a white (or light coloured) ceiling that is about eight feet high. Don’t attempt it if you are in a hall or somewhere where the ceiling is 20-30 feet high – it won’t work.
7. Or use available light
If you haven’t got an external flashgun turn your flash off by pressing the button with the small lightning symbol on your camera until you get the symbol that looks like a lightning with a line through it.
This means the flash will NEVER go off. Now mount the camera on a tripod and use the available light (if in a bright room) or use light coming through a window. Don’t use direct sunlight as it is too harsh – light on a cloudy day or light from a north-facing window is best. To avoid harsh shadows you can use a reflector to bounce some light back.
You can buy commercial reflectors, like the ones from Lastolite, or you can make your own from a large piece of cardboard covered in aluminium foil. The secret is to get it quite close to your subject’s face, but not so close that it appears in the shot. At a push you can use a large sheet of white paper or a white bin liner – try it it works! Please note you must use a tripod – the shutter speed will be quite slow and you will probably get camera shake if you don’t.
8. Make sure you “Fill the Frame”
Don’t place the sitter’s head in the middle of the frame. Make sure you use the whole frame and position their head towards the top.
9. Look with your eye first
Take a look at your subject first. Are you happy with what you can see? Is the lighting correct on the elements you want to capture? Make sure the scene is composed in the way you want to capture it and everything is in place.
So there you have it. The sure-fire way of taking a first class classic portrait shot.
About the Author
Steve Nichols is a professional photographer with more than 25 years experience in taking editorial and PR shots. For more help see “Better PR Photography” – a new downloadable learning resource at: http://www.infotechcomms.co.uk/coursesphotography.htm
Go to full article: How to Take Better Portrait Photos
Join the discussion of this article on facebook: PictureCorrect on Facebook
Article from: PictureCorrect Photography Tips
"


Keine Kommentare:
Kommentar veröffentlichen